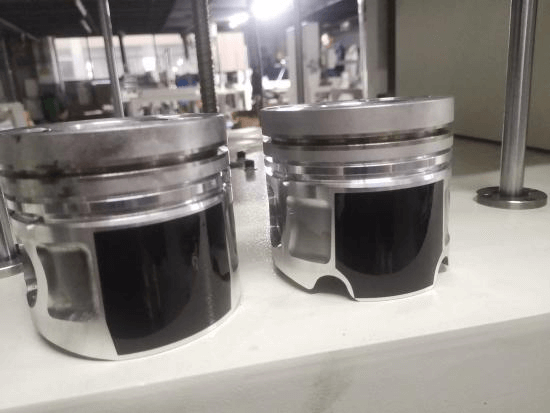
Piston skirt coating technology scheme
一. Detailed explanation of the piston part:
Piston top: The piston top is an integral part of the combustion chamber, so it is often made into different shapes. The gasoline engine piston top adopts a flat top or a concave top to make the combustion chamber compact, the heat dissipation area is small, and the manufacturing process is simple;
Piston head: The piston head is the part above the piston pin seat. Piston rings are installed on the piston head to prevent high temperature and high pressure gas from entering the crankcase and prevent oil from entering the combustion chamber; most of the heat absorbed by the piston top is also Passed to the cylinder through the piston head, and then passed away through the cooling medium;
Piston skirt: All parts below the piston ring groove are called piston skirt. Its function is to guide the piston to reciprocate in the cylinder and to withstand side pressure. When the engine is working, the piston will be bent and deformed due to the action of the gas pressure in the cylinder. After the piston is heated, the amount of expansion of the piston pin is larger than that of other places due to the large amount of metal at the piston pin.
Piston pin seat: used to install the piston pin to transmit the high temperature gas pressure to the connecting rod.
二. Reason for piston coating;
1. The skirt of the piston is tinned or galvanized, which can avoid the phenomenon of pulling the cylinder during operation under the condition of poor lubrication, and can also accelerate the running-in of the piston and the cylinder.
2. Coating graphite on the skirt of the piston, the graphite coating can speed up the running-in process, make the skirt wear evenly, and avoid pulling the cylinder in the case of poor lubrication.
1. Surface coating can improve piston durability by nearly 15%
三. List of materials required for coating:
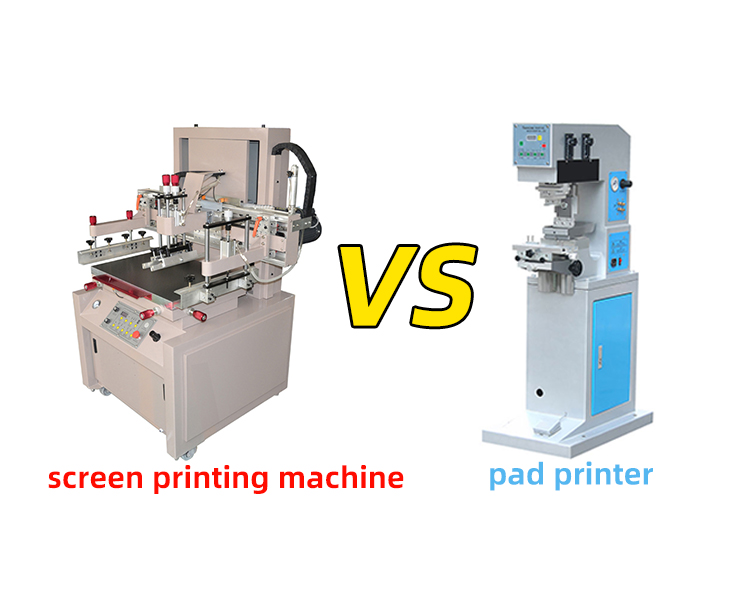
1. High-precision curved screen printing machine
2. Graphite paint
3. Pairing the stencil
4. Pairing tooling

| Maximum printing size | 200*600mm |
| Product length | ≤300mm |
| Use power | 1.5KW/(220V) |
| Power/Power | 220V/1.5KW |
| Printing pressure | 4.0-6 kgf/c㎡ |
四: Operating procedures

Installation tooling:
The tooling is inserted into the motor shaft, and the three locking screws are locked to prevent slippingThe piston is inserted into the tooling, the piston is stuck, and the piston cannot rotate left and right
When printing the coating, it is driven by a servo motor to rotate.
Install the stencil:
The two grids on the equipment beam can be moved according to the size of the grid.Standard fine-tuning handle, the screen level can also be adjusted by the two sides of the screenAdjustment to ensure the accuracy of the coating position.
Align position:
See if the pattern and the piston skirt can be aligned through the stencil, and the pattern should be screen printed in the live
on the skirt.
Setting parameters:
Adjust the starting point and ink return point according to the length of the pattern, according to the diameter of the product
Small adjustment net spacing, that is, adjusting the height of the beam. Enter the product diameter,From the printing angle, click semi-automatic to start. Press the pedal to start.
To paint:
When applying paint, try to avoid the pattern part, try to pour it on the left hand side,
When activated, the ink return knife will cover the paint.
Printing coating:
Adjusting the pressure of the printing knife can change the coating quality, the pattern and the
There is white space around, the edges are clear, and the coating thickness is consistent.
Drying treatment:
Most of the piston coating drying is high temperature heating, conventional temperature
250-300℃, drying for about 40-60 minutes to ensure that the coating is dry
Dry thoroughly, and the adhesion is qualified.


